Doctor Who Decoupage Shoes How-to
Ever have a pair of shoes that just don’t feel ‘cool’ enough? Don’t have enough ‘geek cred’ to merit wearing them in the outside world? I’m going to show you how to amp up a boring pair of pumps into an interstellar masterpiece of geeky goodness that you’ll want to show off proudly!
I’ve been seeing a lot of DIY decoupage shoes online and thought I’d do up a pair of my own since I have an unending amount of comics at my disposal (yes, I make comic collectors cry…)
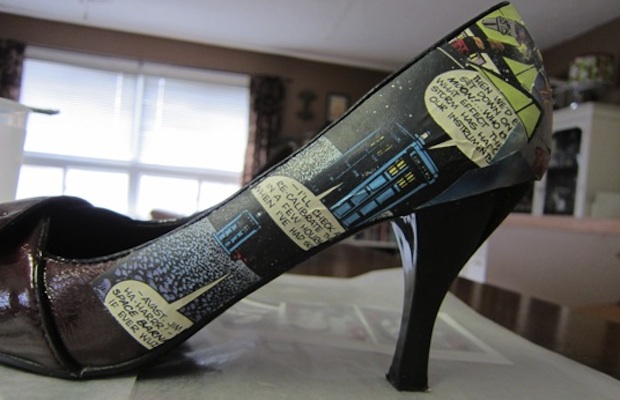
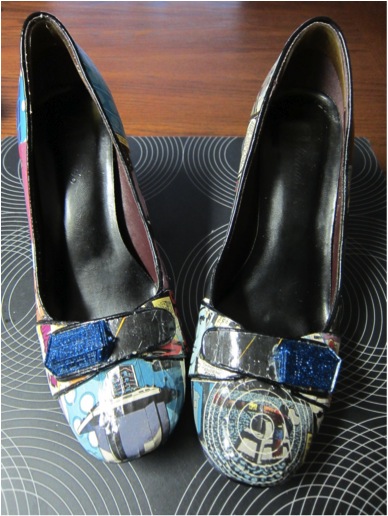
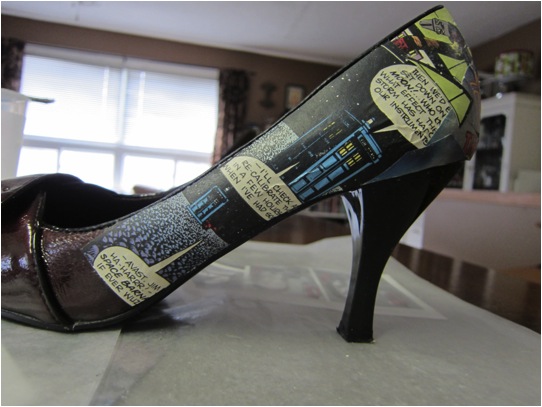
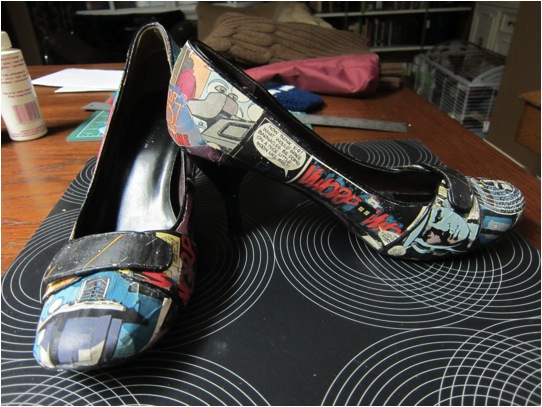
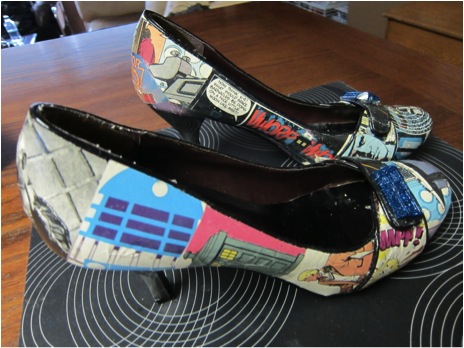
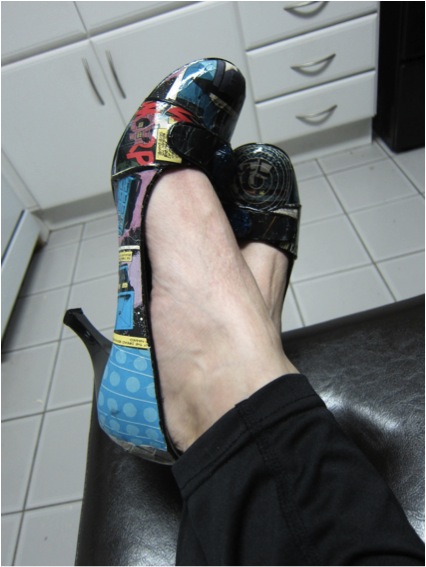
Here’s what I made!!
Below is a step by step tutorial on how to make your own decoupage shoes. They don’t have to be done with comics, you can use any kind of paper product. Preferably non-gloss paper is best so it can absorb and adhere better to the shoe though. 😉
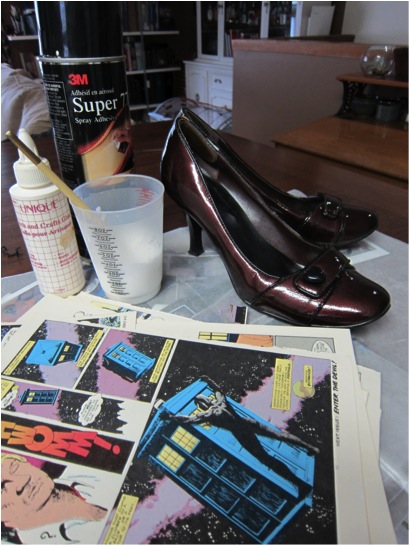
Here’s a list of the things I used:
- paper product of choice (I used NON-glossy Doctor Who comic book pages :D)
- paintbrush (preferably a flat, fairly stiff, shorter haired brush so you can cram it into the seams etc)
- spray glue (I found it worked better to stick the paper to the shoe)
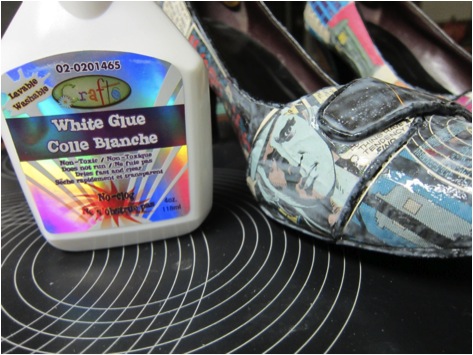
- white crafter’s glue or Modge Podge (I used white glue, Modge Podge is expensive and not exactly necessary)
- shoes (if they are super flexy to walk in or has a surface that paper will be difficult to stick to ie: velvet, canvas.. This technique might not work as well)
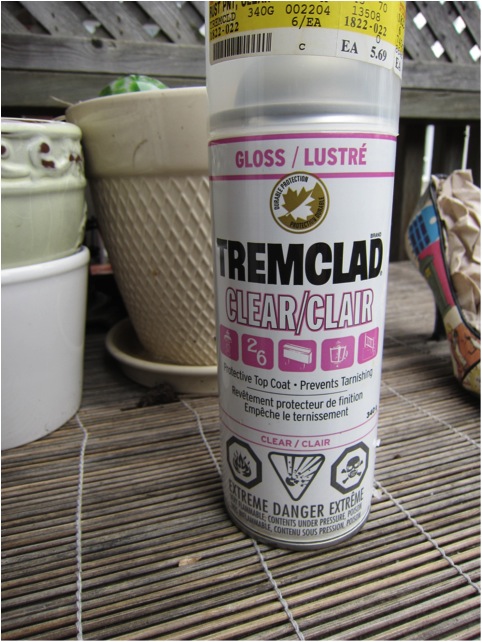
- Clear Top Coat Spray (not ‘necessary’ but I had it on hand)
Once you have this all together, start choosing the images you want to showcase. Remember that you may have to overlap pieces and that some of them will need to be cut a bit to wrap around curved areas of the shoe.
I suggest to start at the heel. Why? So that if you screw it up at least it’s at the back and by the time you make it to the front you’ll have honed your skills a bit. 😉
I had originally tried just using the white glue to coat the back of the comic and sticking it to the shoe. But the corners kept popping up and the whole piece would slide around. Spray glue works awesome though! I just sprayed the back of the comic piece and then used a brush to spread it to all the edges and then placed it on the shoe.
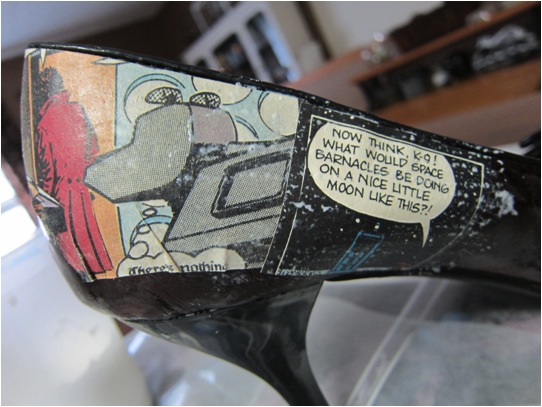
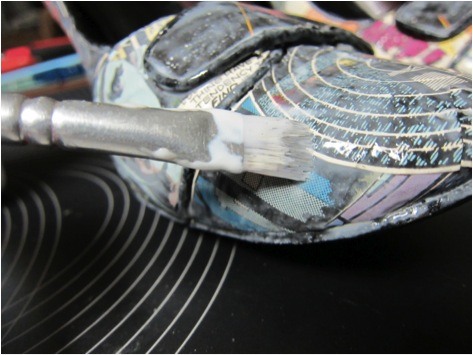
After you stick a few pieces, use a brush and the white glue to paint completely over the paper on the shoe as sort of a sealant. You want the paper to be completely flat and STUCK to the shoe, try not to have bumps/bubble/creases as you work. If there’s a curved area that doesn’t fit right, just make a slit in the comic where the curve is and then press it down, this should help to curve it over the… well, curve of the shoe. Lol.
Keep placing pieces of comic, overlapping the edges so there’s no shoe showing through and applying white glue as you go. When you get to the edges I found it helpful to press the piece to the shoe and run my nail overtop of the paper along the seam, then come at it with an exacto blade to get a clean cut along the edge.
Placing the paper pieces is really the most time consuming part of doing this. Set yourself up with a good show and work while you watch. It doesn’t much matter if you’re going slowly, you DO kind of want the pieces to dry as you work. I was rewatching Star Trek TNG on Netflix, so it was easy to just let that play while I worked. Just keep checking your pieces that you had placed to make sure all the edges are pressed well and aren’t popping up.
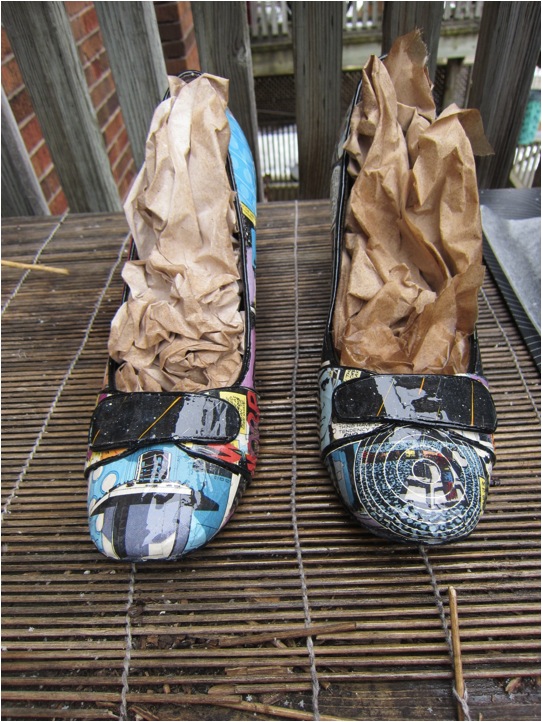
Once all your pieces are applied and you’re happy with the work, leave them to dry overnight.
Once it’s dried overnight, using the white glue, paint over the whole shoe where there’s paper pieces. Pay special attention to the seams and edges of the shoe or areas that need a little extra glue to keep them adhered. You can let this dry and do the process again if you want. Heck, you could do it multiple times! White glue dries clear and is water resistant (NOT waterproof though)
Again, let the shoes dry completely before moving on.
I sprayed the shoes in a clear top coat spray when they were completely dry. You don’t have to do this, but I’m one of those paranoid people and didn’t want to chance anything lifting. Also the spray gave a nice shine.
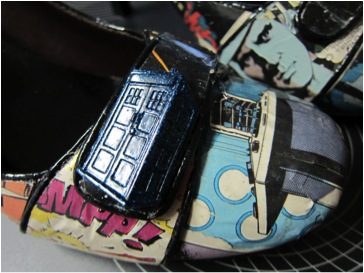
My shoes of choice originally had a heart shaped button on it (you can see it in the supply picture above). I took it off and found these lovely resin TARDISES… TARDI? Anyway, these lovely pieces are made by Shannon at Indie Odyssey. Go here to see her shop: https://www.etsy.com/shop/indieodyssey. They were the perfect finishing touch to my Doctor Who Decoupage shoes!! I just glued them on with hot glue.
There you go!! Now remember that you aren’t going to be able to do the regular wear and tear like any other shoes you have. There is a possibility that the paper will crack in areas where you foot creases the shoes. So be careful and cherish your new piece of art!!!


These are amazing. I have tried to make something simmilar but I’m having a problem (even with heels) that where the shoe bends the paper is cracking and coming away from the shoe. Do you have this problem and have you found a solution?
I do little cuts in the paper where it needs to fold around the edge. If you’re using paper mache, let it soak enough that that you can squish it down. Either that, or I cut smaller images and layer them around the heel. This will affect how thick the layer is there, so be careful. 😉